> For the complete documentation index, see [llms.txt](https://docs.blockbrain.ai/llms.txt). Markdown versions of documentation pages are available by appending `.md` to page URLs; this page is available as [Markdown](https://docs.blockbrain.ai/for-admins/web-components/sharepoint-chat-extension.md).
# Sharepoint Chat Extension
This tutorial outlines the steps to add the Blog Brain web chat extension to SharePoint, ensuring it is enabled for specific pages only.
{% hint style="warning" %}
**Attention:** The Blockbrain Team will provide you with your specific Sharepoint package, please provide the following information to you Contact.
* Which bot do you want to integrate?
{% endhint %}
## Setup Steps
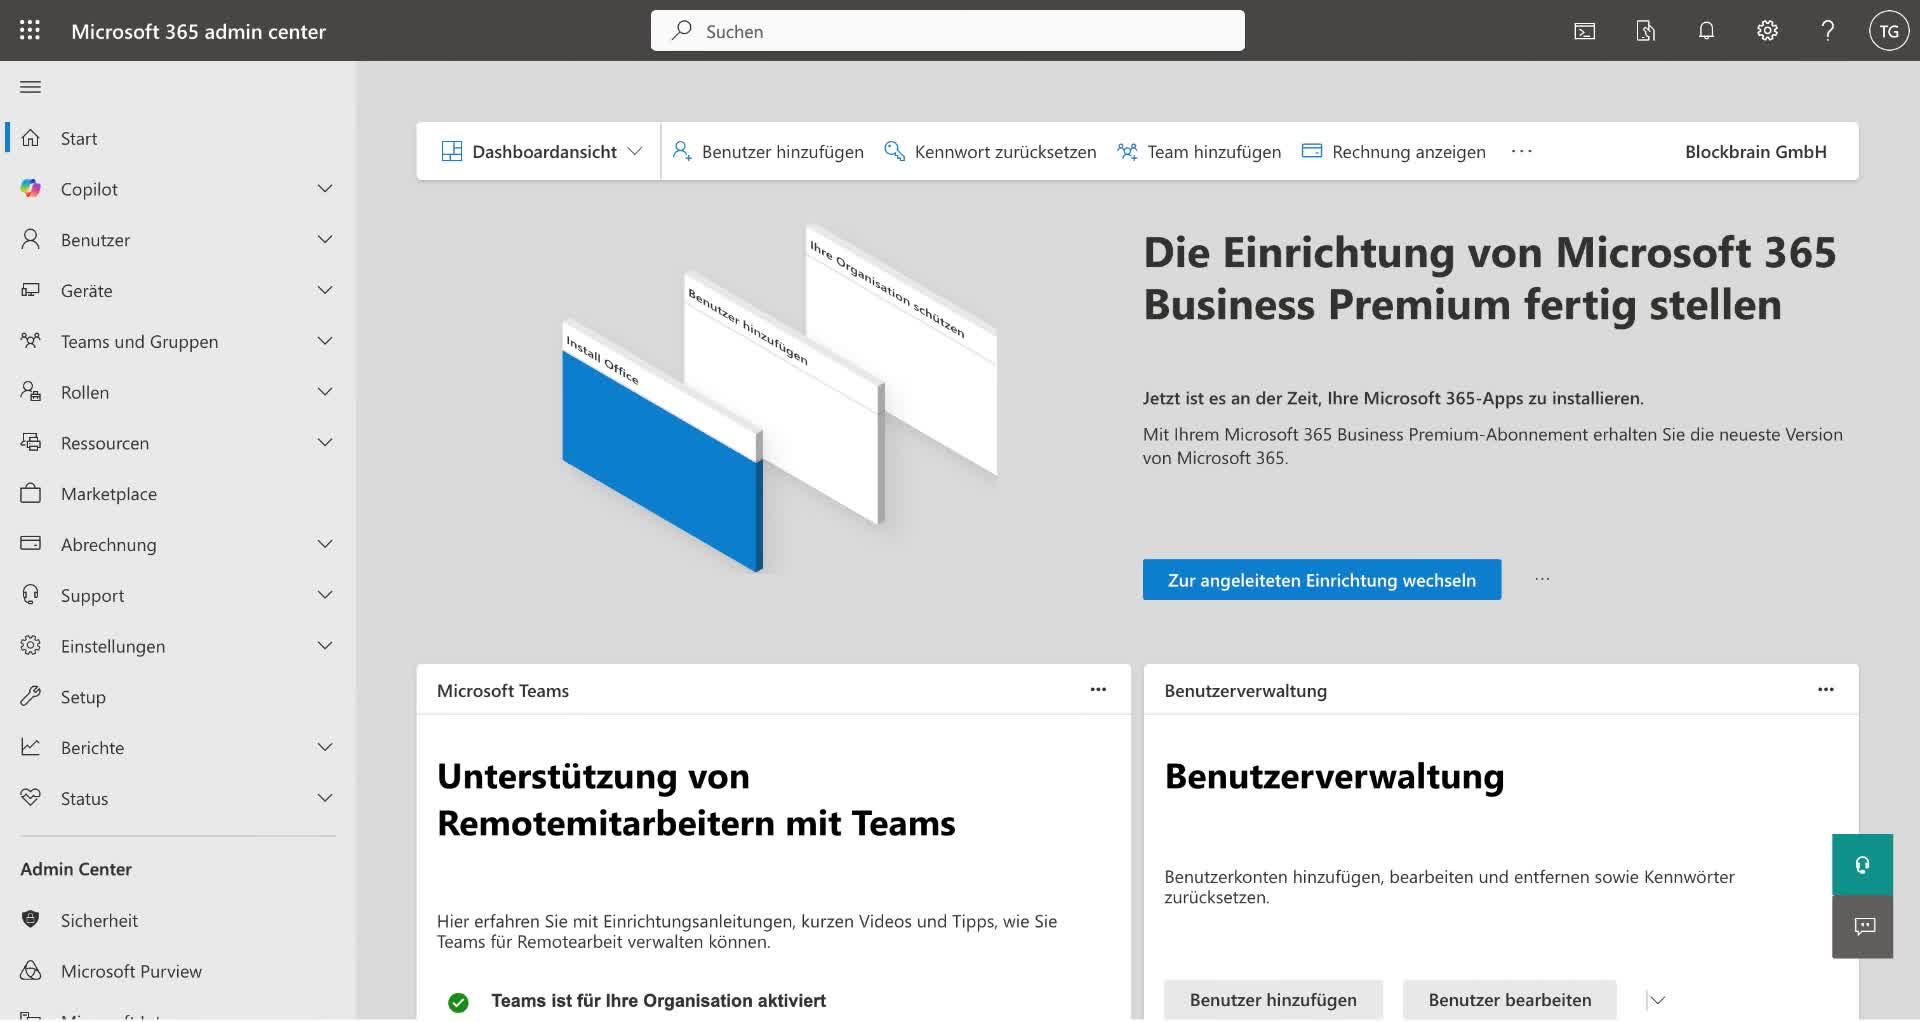
### **Step 1: Access SharePoint Admin Center**
* Navigate to the SharePoint Admin Center.
* Click on 'Additional Functionality'.
* Select 'Apps' from the SharePoint options.
### **Step 2: Upload the Extension File**
* Locate the 'Upload' button in the SharePoint apps section.
* Upload the extension file provided to you.
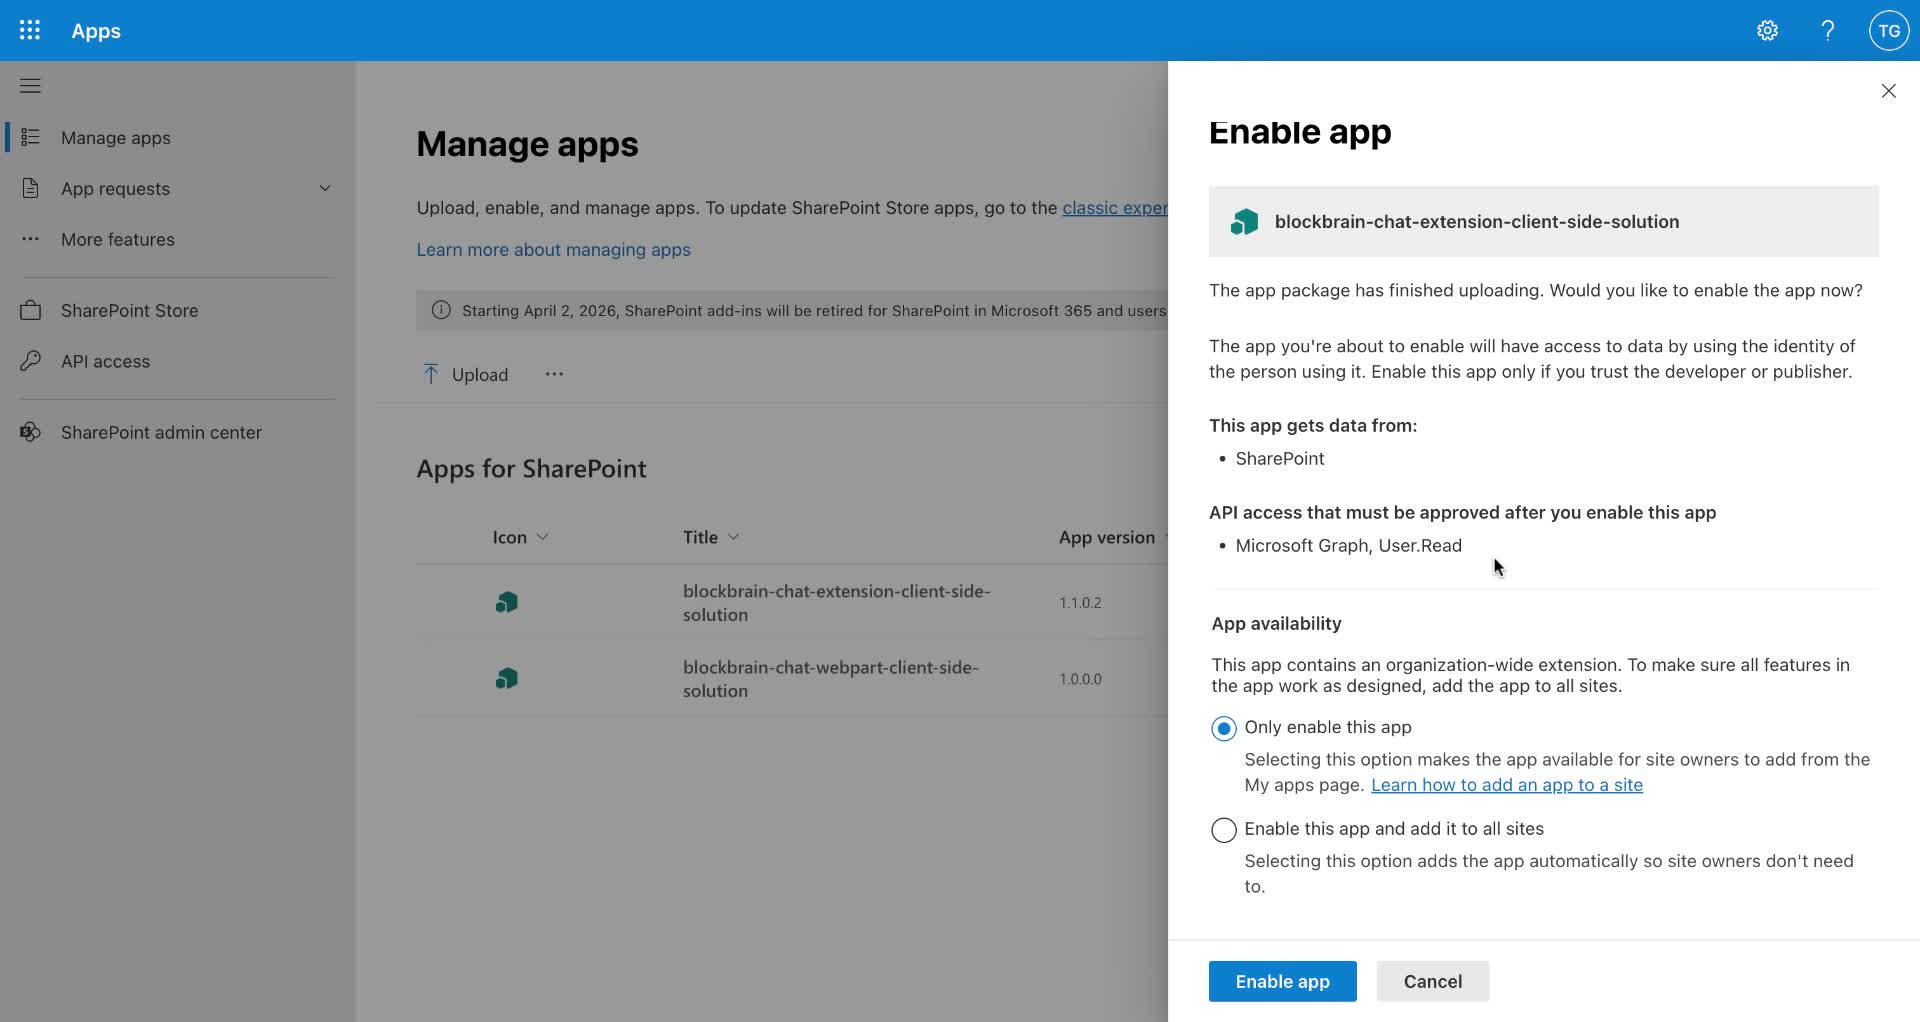
### **Step 3: Enable the App**
* After uploading, find the 'Enable App' section.
* Choose the option to 'Only enable this app' to restrict it to specific pages.
{% hint style="warning" %}
Ensure you select 'Only enable this app' to avoid it being added to all SharePoint sites.
{% endhint %}
### **Step 4: Activate API Access**
* Click to activate any API access requests that may appear.
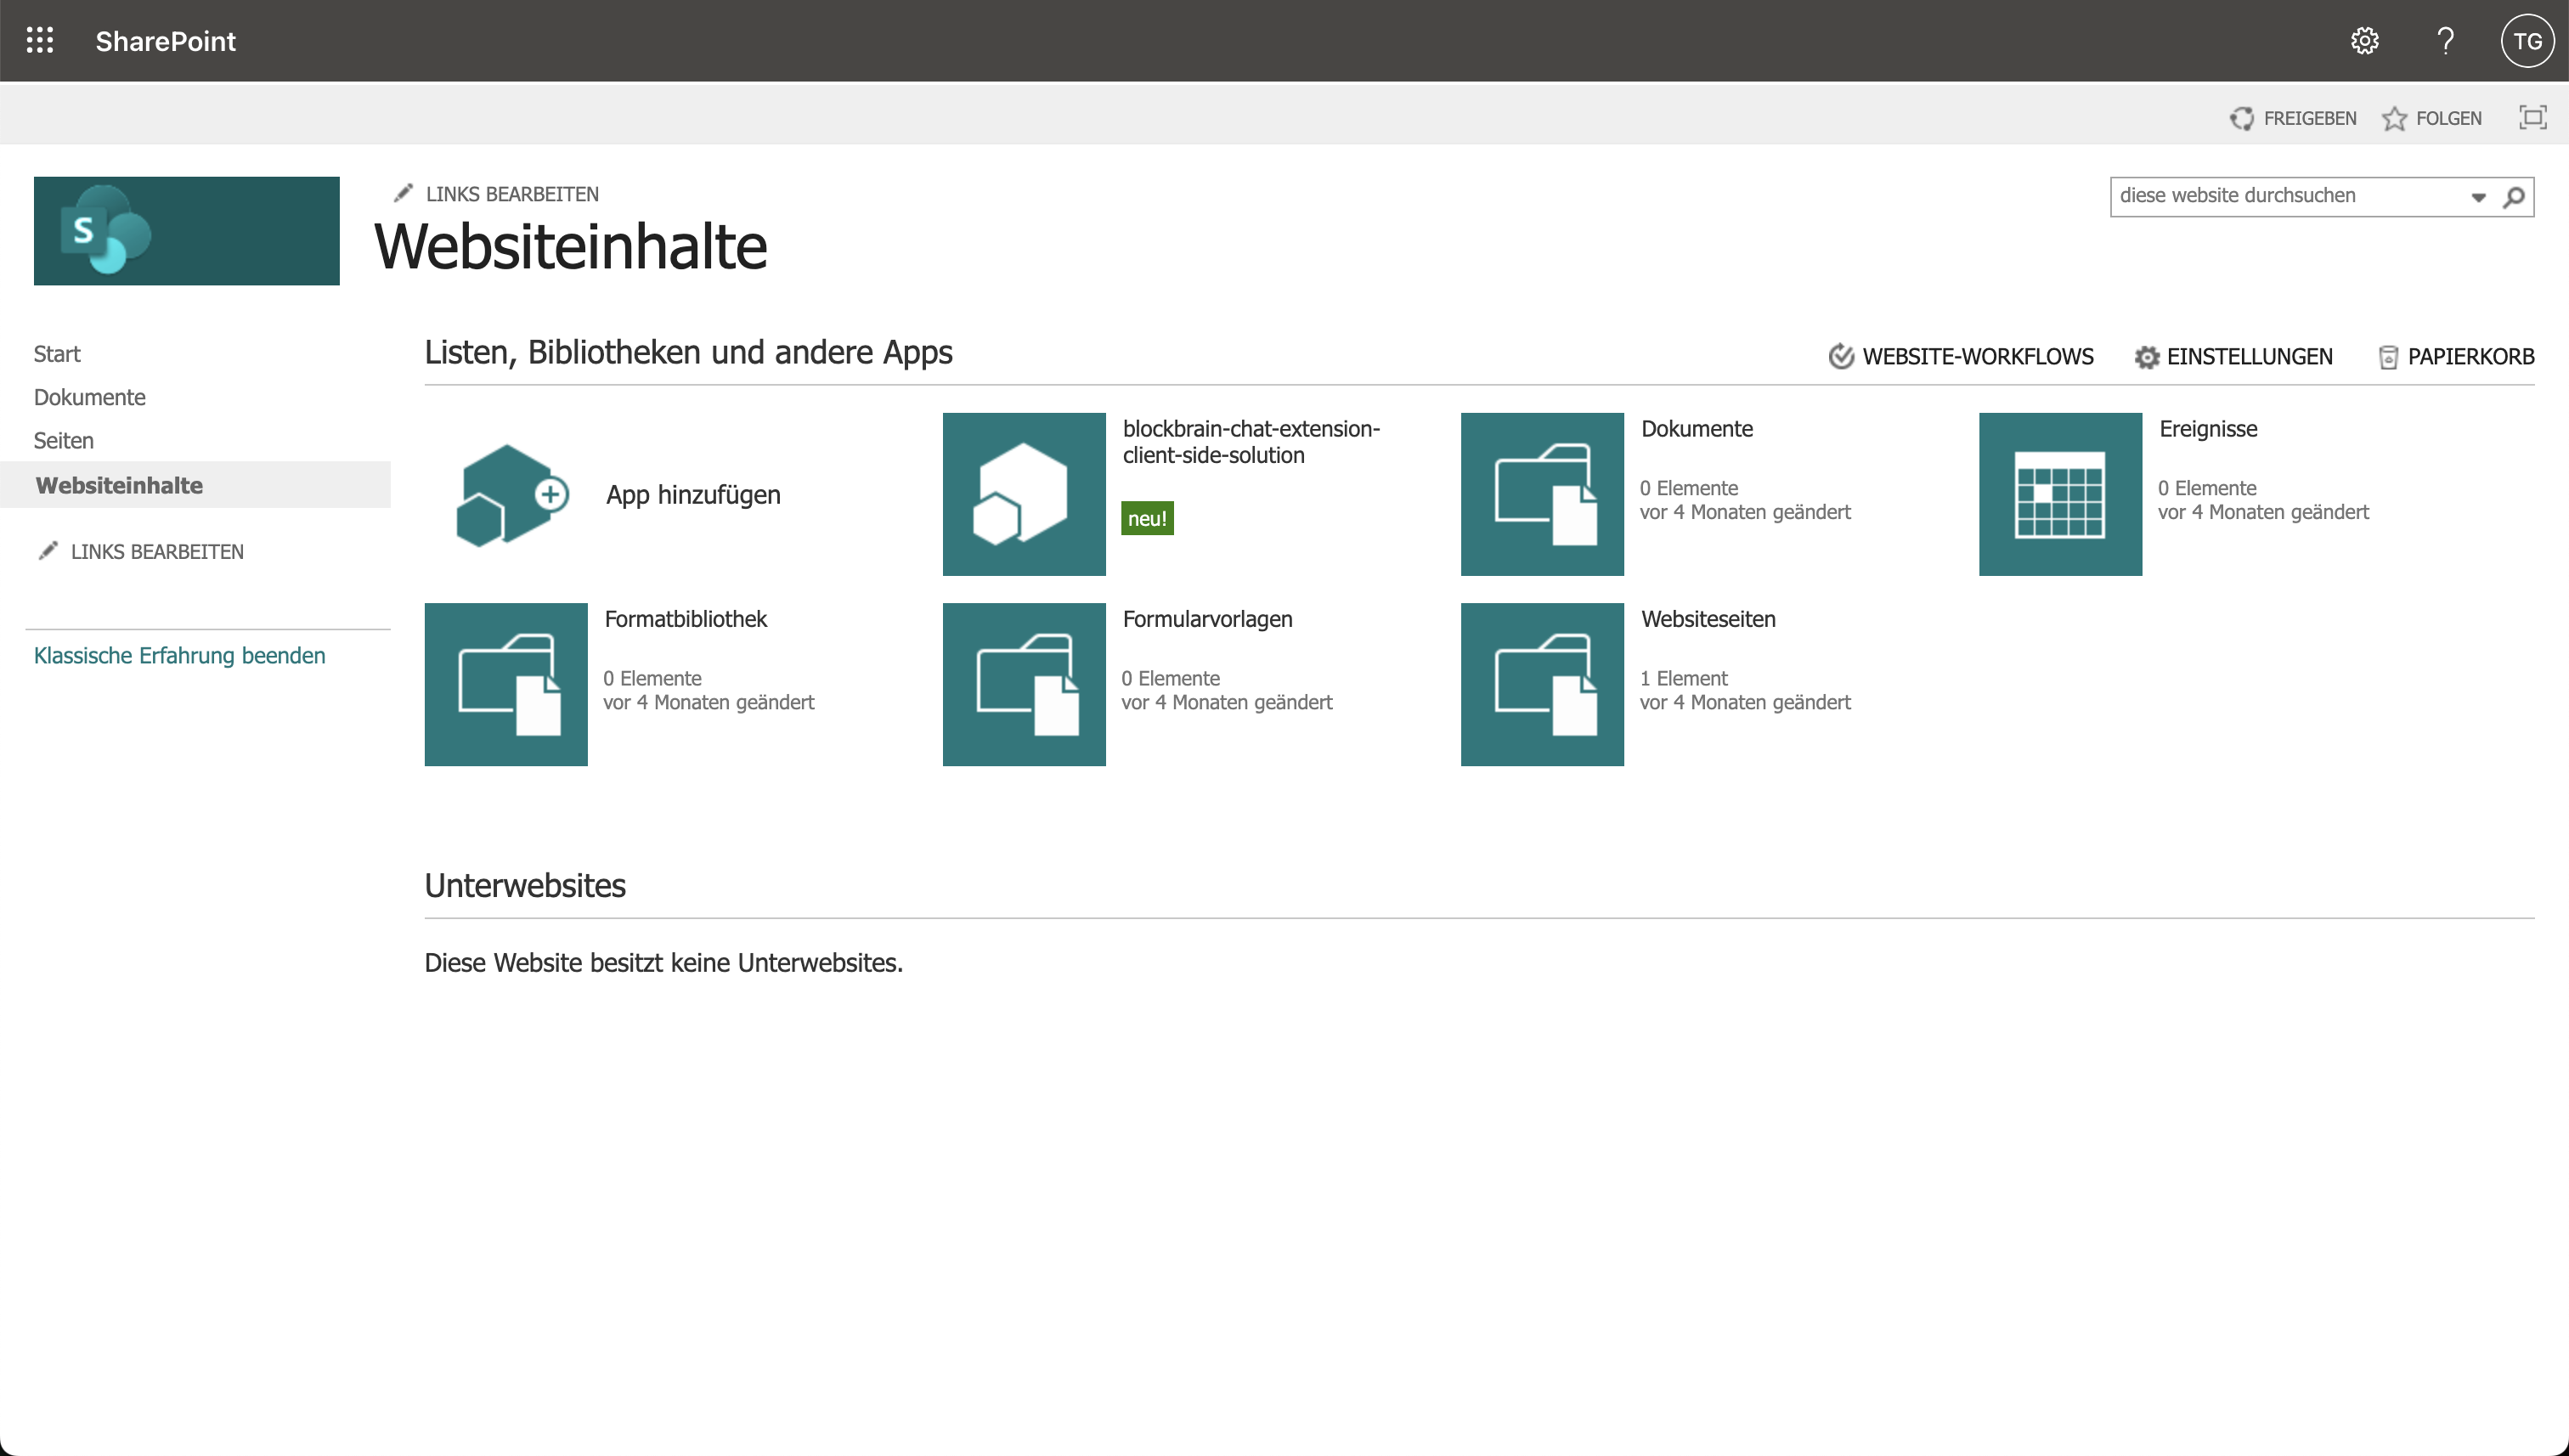
### **Step 5: Verify App Activation**
* Confirm that the SharePoint chat extension is enabled and ready for use.
### **Step 6: Add the App to a Specific Page**
* Navigate to the desired SharePoint page (e.g., Communication site).
* Click on the extension to view information and add it to the page.
{% hint style="warning" %}
Remember to activate the app for additional pages where you want it to appear.
{% endhint %}
### **Step 7: Confirm Addition of the App**
* Look for a notification indicating that the app has been successfully added to the page.
### **Step 8: Access the Chat Feature**
* Check the bottom right corner of the page for the company chat feature.
* Use the chat as needed.
### **Step 9 (Optional): Activate for Additional Pages**
* Repeat the process to activate the app for any additional SharePoint pages.
## **Deleting the extension**
* The extension is part of the website content, it can only be deleted from there.
## Video
{% embed url="" %}
---
# Agent Instructions
This documentation is published with GitBook. GitBook is the documentation platform designed so that both humans and AI agents can read, navigate, and reason over technical content effectively. Learn more at gitbook.com.
## Querying This Documentation
If you need additional information that is not directly available in this page, you can query the documentation dynamically by asking a question.
Perform an HTTP GET request on the current page URL with the `ask` query parameter, and the optional `goal` query parameter:
```
GET https://docs.blockbrain.ai/for-admins/web-components/sharepoint-chat-extension.md?ask=&goal=
```
`ask` is the immediate question: it should be specific, self-contained, and written in natural language.
`goal` is optional and describes the broader end goal you are ultimately trying to accomplish on behalf of the user. GitBook uses it to tailor the answer towards what is most useful for that goal.
The response will contain a direct answer to the question and relevant excerpts and sources from the documentation.
Use this mechanism when the answer is not explicitly present in the current page, you need clarification or additional context, or you want to retrieve related documentation sections.