> For the complete documentation index, see [llms.txt](https://docs.blockbrain.ai/llms.txt). Markdown versions of documentation pages are available by appending `.md` to page URLs; this page is available as [Markdown](https://docs.blockbrain.ai/for-admins/web-components/website-web-component.md).
# Website Web Component
This tutorial outlines the steps to integrate the Blockbrain web component into a website, either in public or private mode, ensuring proper setup and authentication.
## Key Steps
### **Step 1: Choose Integration Mode**
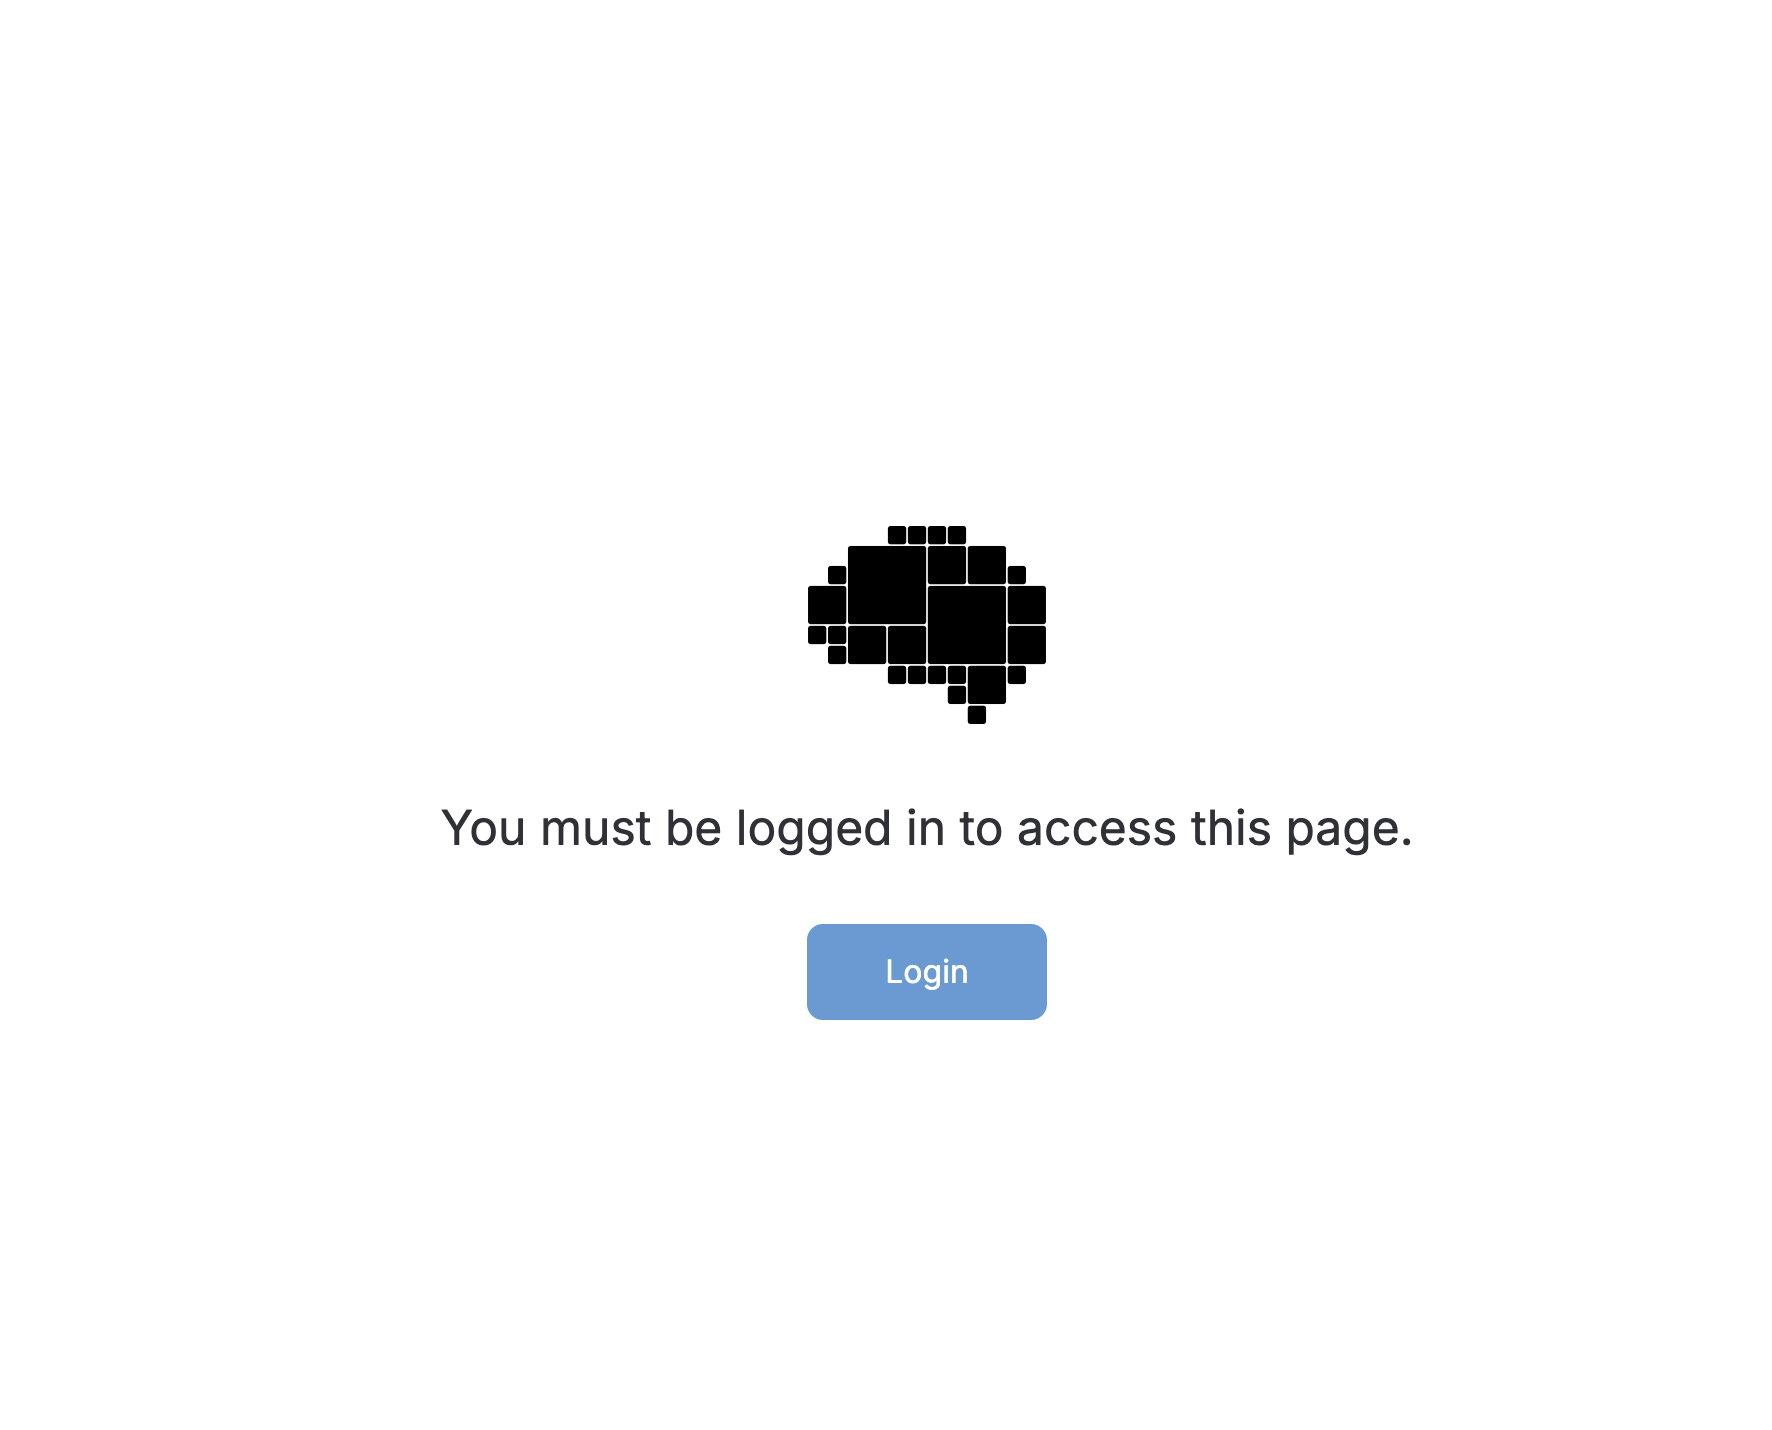
Private Mode
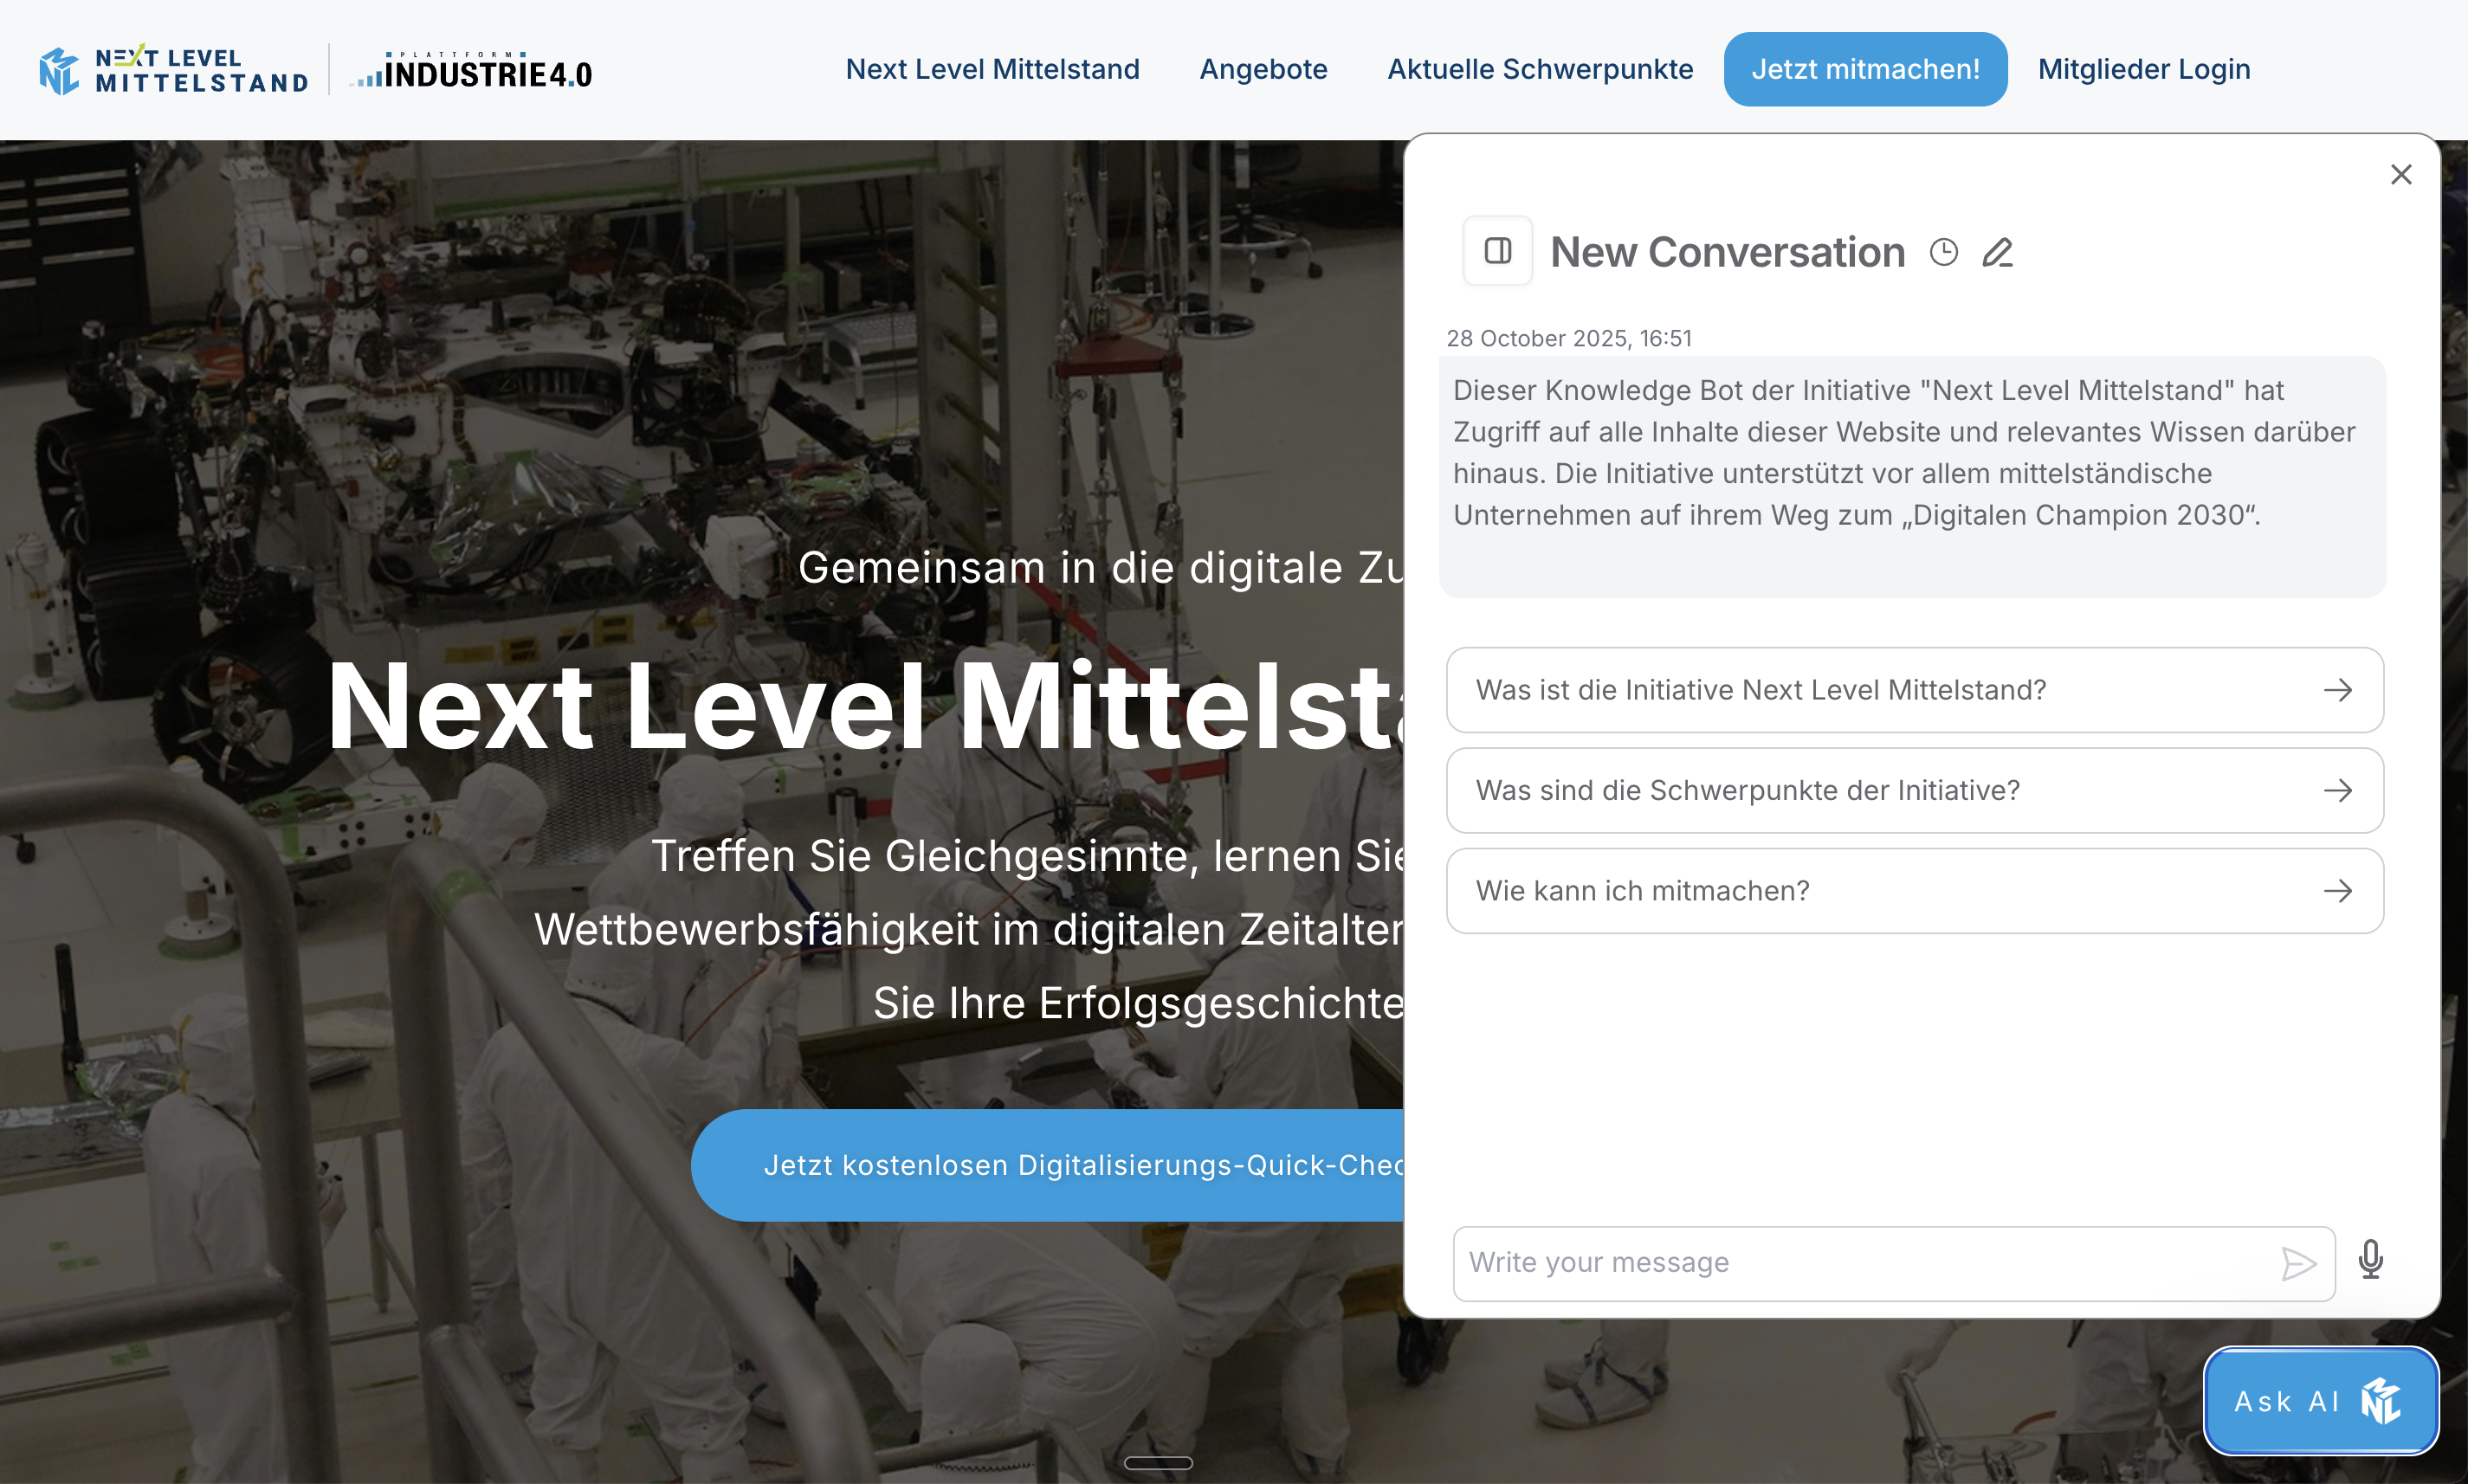
Public Mode
* Decide between two integration modes:
* **Public Mode**: No authentication required; all users can chat with the interface.
* **Private Mode**: Requires user authentication; users must log in to access their conversation history.
* **Ping your Blockbrain Key Account Manager** that you want to add a webcomponent to your website.
### **Step 2: Prepare Your Website**
* **Add the necessary header script to your website.**
```
```
* Ensure you have the following information ready:
* **Organization ID**: Obtain from your Blockbrain key account or team member.
* **Issuer URL**: This will be your company Blockbrain URL (e.g. ).
* **Webcomponent Bot UID**: The Id of a bot mapping created in the admin section of your Blockbrain. Needs to be added by an admin.
### **Step 3: Configure the Web Component**
* Set up the web component with the following parameters:
* **Organization ID**: Insert your organization ID - retrieved from Blockbrain team.
* **Issuer**: Insert the issuer URL - .
* **UID**: Webcomponent Bot UID - e.g., CompanyGPT.
* **User UID**: Not relevant for private and restricted bots, optional for public bots.
## Private Mode
### **Step 4: Setup Authentication**
* If using private mode, **ensure the issuer is included** in the configuration.
* Remove the userUid, that is only for public mode.
* Test the login functionality:
* Click the login button to trigger the OAuth authentication.
* Verify that you can access your conversation history.
## Public Mode
### **Step 5: Use Public Mode**
* To switch to public mode, **remove the issuer from the configuration**.
* Ensure the organization ID and company UID are still included.
* Remove the userUid if not needed, it can be used to distinguish users.
* Test the public chat functionality to confirm it works without authentication.
## Video
{% embed url="" %}
---
# Agent Instructions
This documentation is published with GitBook. GitBook is the documentation platform designed so that both humans and AI agents can read, navigate, and reason over technical content effectively. Learn more at gitbook.com.
## Querying This Documentation
If you need additional information that is not directly available in this page, you can query the documentation dynamically by asking a question.
Perform an HTTP GET request on the current page URL with the `ask` query parameter, and the optional `goal` query parameter:
```
GET https://docs.blockbrain.ai/for-admins/web-components/website-web-component.md?ask=&goal=
```
`ask` is the immediate question: it should be specific, self-contained, and written in natural language.
`goal` is optional and describes the broader end goal you are ultimately trying to accomplish on behalf of the user. GitBook uses it to tailor the answer towards what is most useful for that goal.
The response will contain a direct answer to the question and relevant excerpts and sources from the documentation.
Use this mechanism when the answer is not explicitly present in the current page, you need clarification or additional context, or you want to retrieve related documentation sections.